Over the past few months I have been experimenting with possible educational uses of 3D printing1, in two main areas:
Terrain models
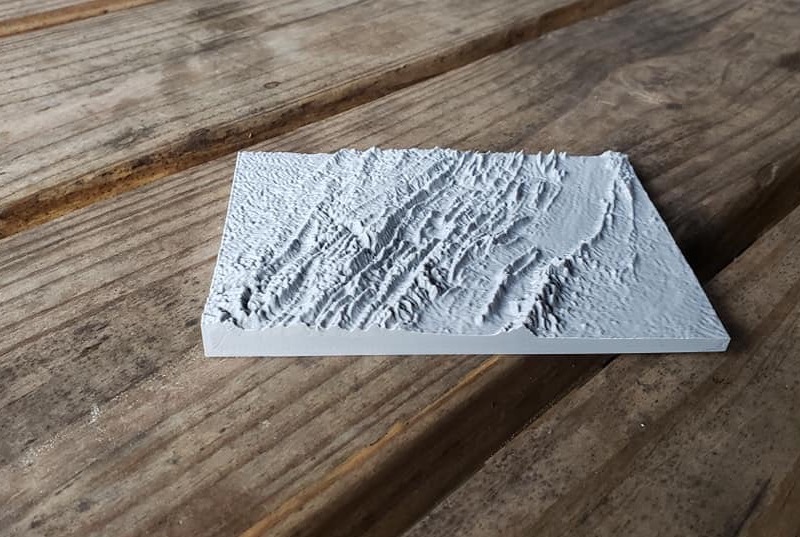
The online TouchTerrain tool makes it easy to generate .STL files of bits of the Earth’s surface, which can then be easily loaded into a slicing tool that turns it into instructions for the 3D printer.
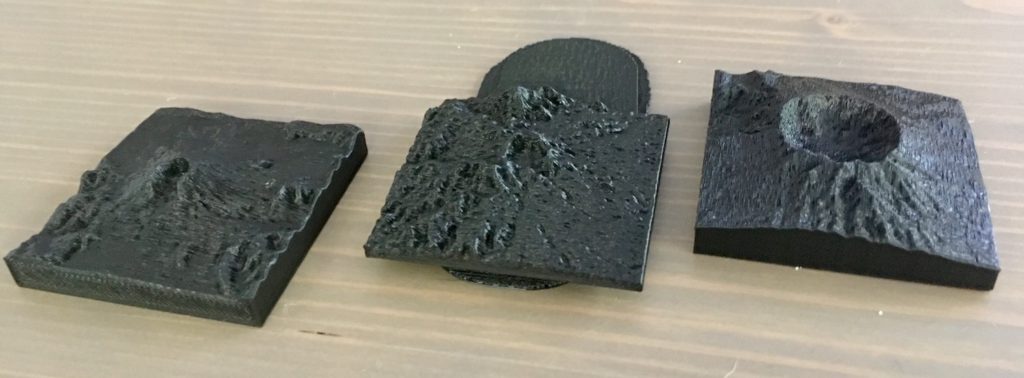
I have a number of ideas for creating comparative models, to give students a tangible idea of the relative scale of different geological features and events. For example, you can directly show how as the size of an eruption on the Volcanic Explosivity Index scale increases, so does the size of the crater/caldera produced:
I’m also investigating how terrain models might be used on field trips. On my Tectonics field trip across the Appalachians, I printed multiple copies of a terrain map that covered the whole region we were traversing. At each stop, we could locate ourselves and discuss how what we were seeing fit into the broader landscape, and see directly how, for example, the Blue Ridge differed from the Valley and Ridge. Feedback was very positive – one good indicator being that the students were very reluctant to hand the models back!
Custom parts for lab and field equipment
The latest modifications to my sandbox model have been a series of 3D printed brackets to support and hold the side walls as the base plate moves underneath, and to mechanically link the base plate to a turning screw so that movements are smaller and more easily controlled.
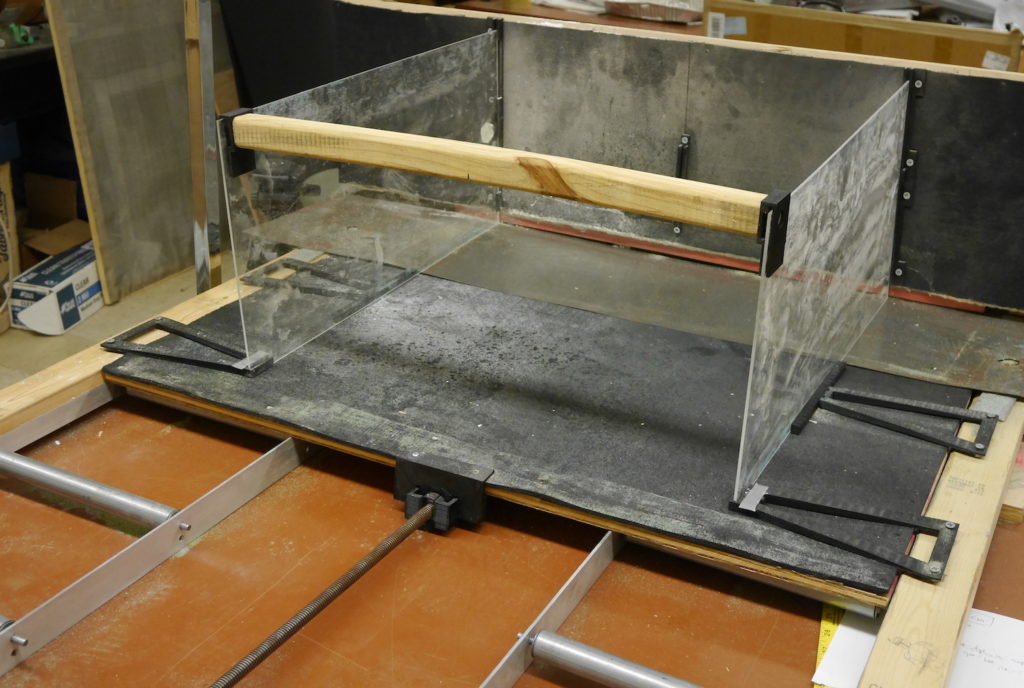
When it comes to in-house production of precision and custom parts, 3D printing is a great improvement on my skills with a drill and saw. Plus, you can quickly iterate a part until it looks – and works – as envisaged.
Challenges
So far I’m pretty positive about the potential uses of 3D printing in both my teaching and research, but there are some caveats people thinking of pursuing similar projects should be aware of.
- Printing is slow. As an example, each of the Appalachian terrain models took four or five hours to print. If you are planning to produce a lot of educational models for a large class, you will need a lot of lead time.
- Printing something in multiple colours is either expensive (buy a printer with a multi-filament print head) or much more complicated (design and print individual prints that fit together), although in some cases painting the models after printing is also an option.
- If you are interested in designing your own things, rather than just finding items of interest on Thingiverse, there is a steep learning curve. As a programmer, I have had a lot of success in using OpenSCAD to print my sandbox parts, but the procedural approach has limitations for more complex or artistic projects, where something like Blender is probably more appropriate.
- For those interested, these prints were produced on an Anycubic i3 Mega, which is reasonably priced and has done pretty much everything I’ve asked of it without much fuss. ↩︎